Computer Class Archive - Summer 2020
Week 10
This is the last week of summer computer class!
We are learning about social media this week. Below are some pictures of popular social media sites. Do you use any of these?
We are learning about social media this week. Below are some pictures of popular social media sites. Do you use any of these?
Safety on Social Media
Remember to keep your accounts secure with a strong password!
You can also control who sees your social media accounts. Watch the video below about Facebook privacy.
Week 9
Let's talk about Google Maps on your phone!
What is Google Maps?
You can get an app on your phone that shows you where you are on a map and the directions to go somewhere else.
It looks like this:
You can get an app on your phone that shows you where you are on a map and the directions to go somewhere else.
It looks like this:
Watch this video about how to find directions to a place.
If you are advanced and want to read more about using Google Maps click HERE.
Week 8
This week we are talking about more parts of a Google account... like Youtube!

Google Apps
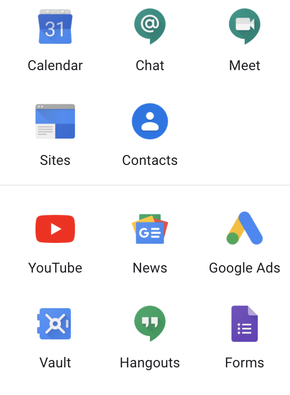
There are so many apps you can use if you have a Google account! You can see a list of apps if you click on the square of dots that looks like this:
Here is a picture of some apps. Can you see Youtube?
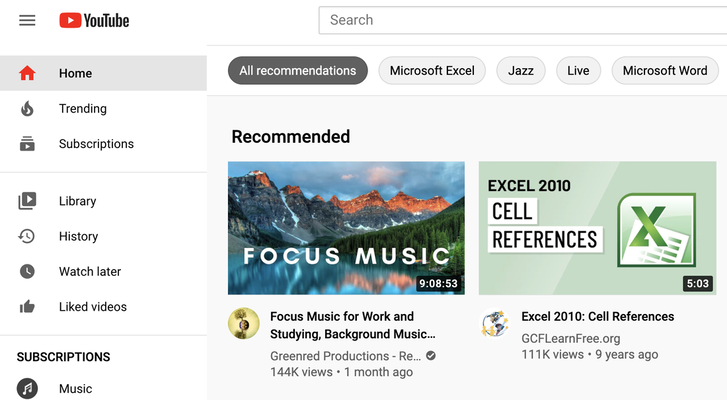
Youtube
You can watch and share videos on Youtube. If you have a Google account your watch history and
liked videos will be saved. You can also share your own videos.
Week 7
This week we are learning more about Google Sheets!
|
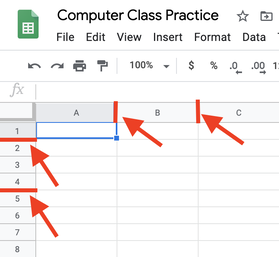
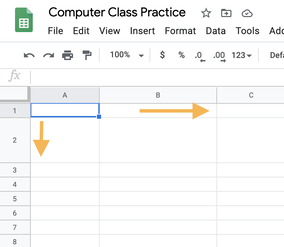
How do you change the columns and rows? You can make the columns and rows bigger or smaller to fit the information in the cells. To change the size of the cells you have to click on the line between two sections and drag into place. __________ You can see in the second picture that I made column B and row 2 bigger. |
Autosize
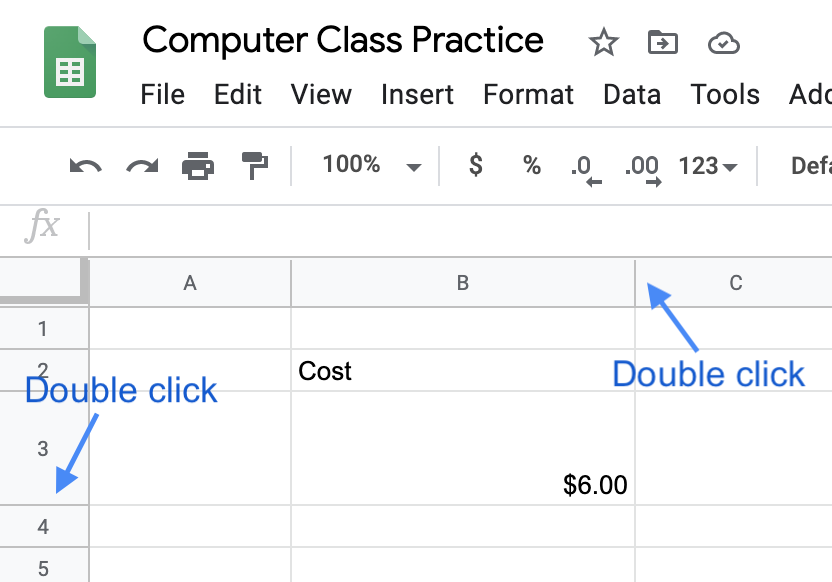
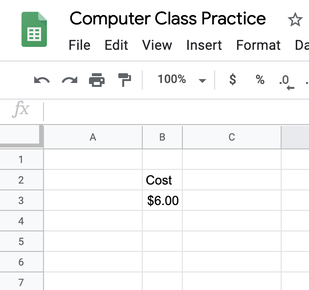
You can also autosize the cells. This will make them the right size for the information.
To autosize just double click on the line to the right (or just below).
Here are two pictures to show you what it might look like to autosize a column and a row.
You can also autosize the cells. This will make them the right size for the information.
To autosize just double click on the line to the right (or just below).
Here are two pictures to show you what it might look like to autosize a column and a row.
Here's a video talking more about how to change cells!
Week 6
This week we are learning about Google Sheets!
Watch the video to get started and then read the notes below.
Watch the video to get started and then read the notes below.
Google Sheets Notes
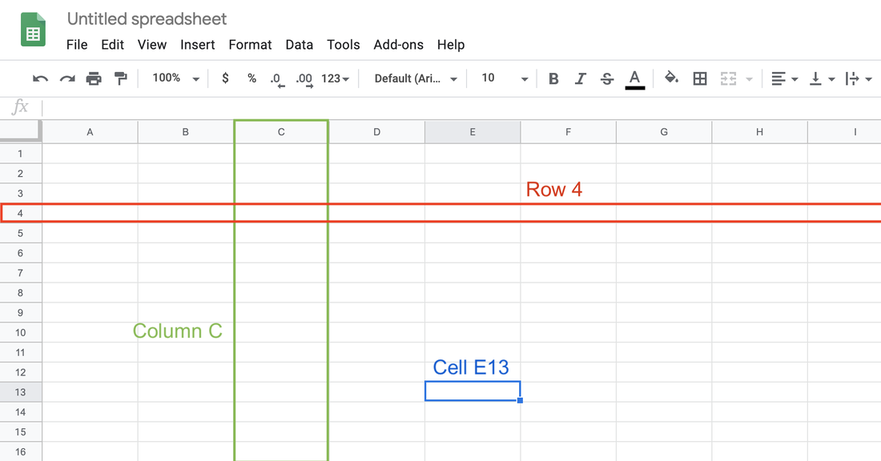
Google Sheets is very similar to Microsoft Excel. It has the same grid with rows, columns, and cells.
Column: columns go up and down and each one has a different letter (for example Column C)
Row: rows go across, and each one has a different number (for example Row 4)
Cell: cells are the individual boxes, and each one is named for its column and row (for example E13)
Typing
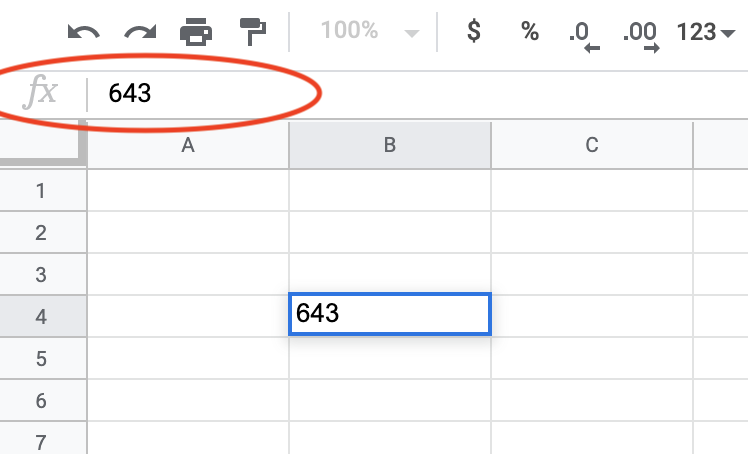
You can type in the cell you have selected. To select a different cell you can click or use the arrow keys.
What you type will appear in the cell and in the formula bar.
You can type in the cell you have selected. To select a different cell you can click or use the arrow keys.
What you type will appear in the cell and in the formula bar.
If you want to read more about Google Sheets click HERE
Week 5
We are learning about sharing in Google Drive this week!
How do you share files?
Watch this video about how to share files in Google Drive with other people.
Watch this video about how to share files in Google Drive with other people.
The video explains that there are two main ways to share a file.
1. Share the file with one person at a time by typing in their email
2. Share the link with a group of people (even if they don't have a Google account)
1. Share the file with one person at a time by typing in their email
2. Share the link with a group of people (even if they don't have a Google account)
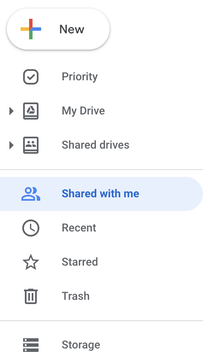
How do you see what is shared with you?
Do you want to read more about sharing? Click HERE
Week 4
This week we are talking about Google Slides!
The Basics
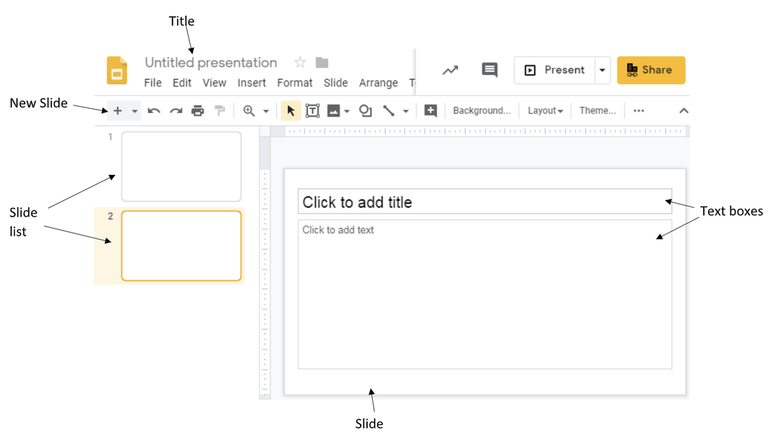
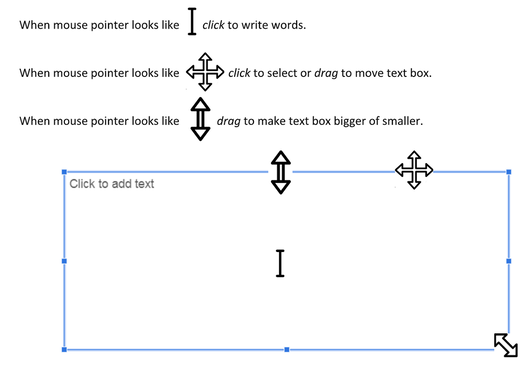
Here is a picture that shows the important parts of a Google Slide window.
Here is a picture that shows the important parts of a Google Slide window.
To add words just click inside the text box and start typing. You can also change the text box.
To change the words you can use the options that look like these.
Watch this short video about how to get started!
There is also an app for the phone! Watch this video if you want to see what it looks like!
Week 3
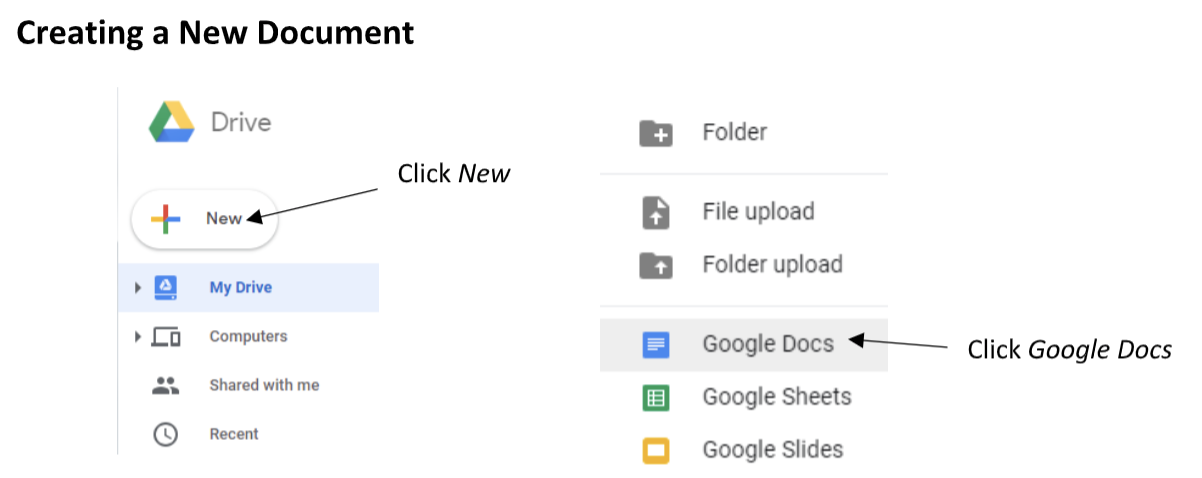
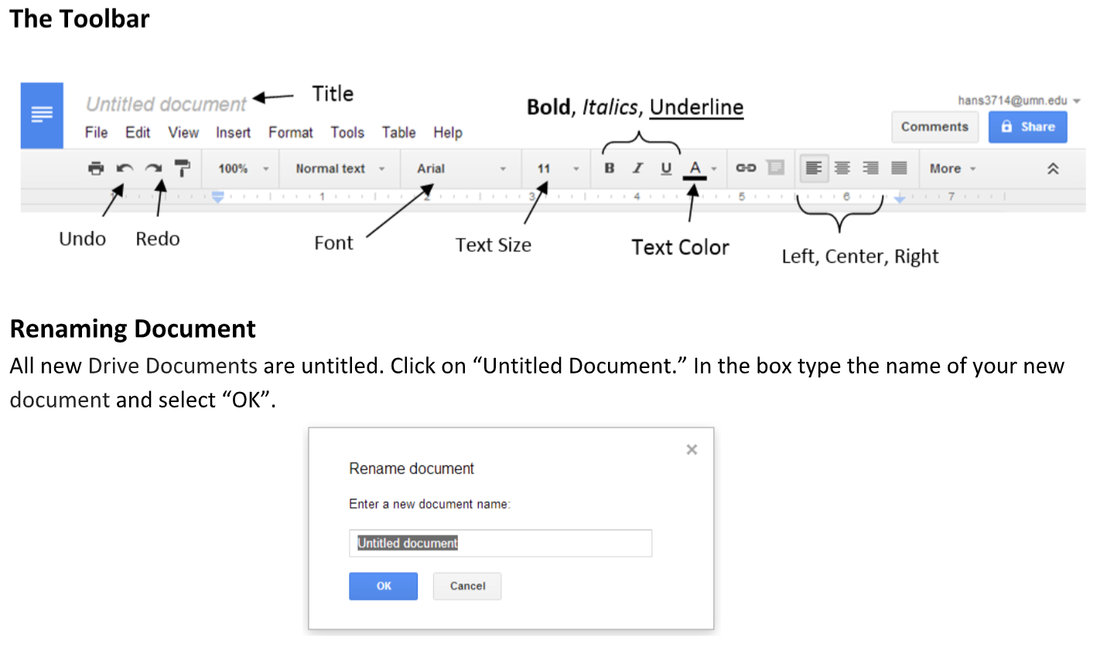
We are making files in Google Drive this week!
Week 2
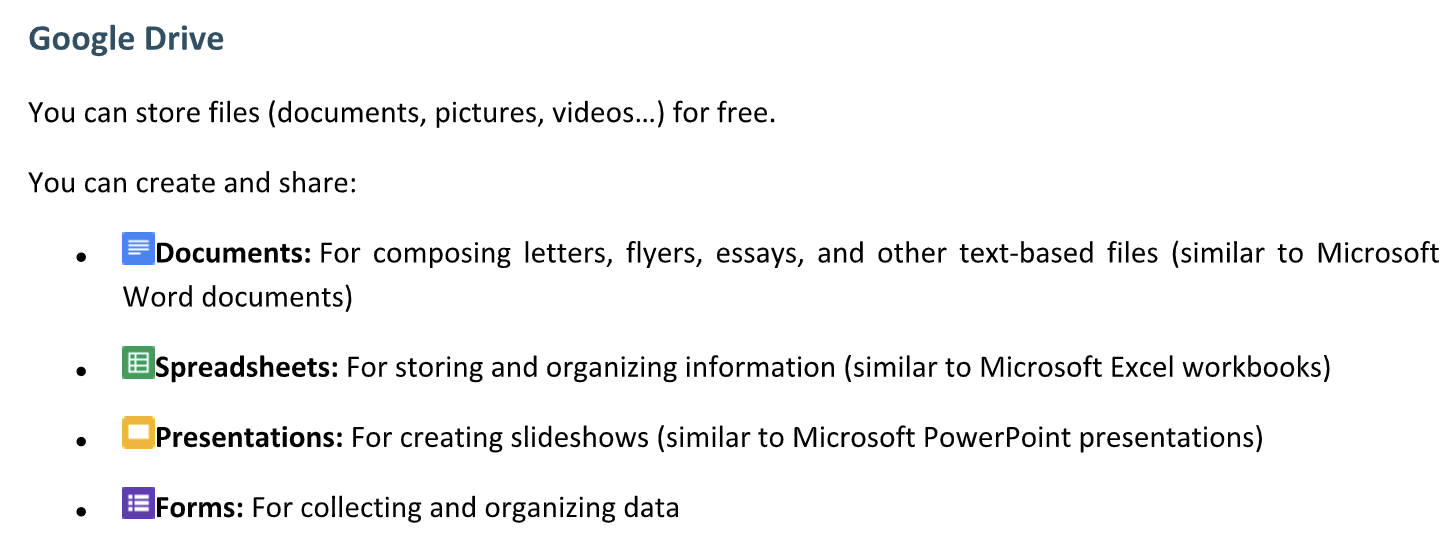
This week we are going to talk about Google Drive! Read about the basics below.
You can use Google Drive on your computer or phone if you have a Google account.
Watch this video on how to get started!
Week 1
This week is the first week of summer classes! We are going to review Gmail, so everyone can send emails!
Gmail (Google Email)
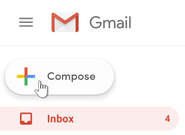
Most students have a Gmail account. Watch this video to remember how to send emails!
Most students have a Gmail account. Watch this video to remember how to send emails!
|
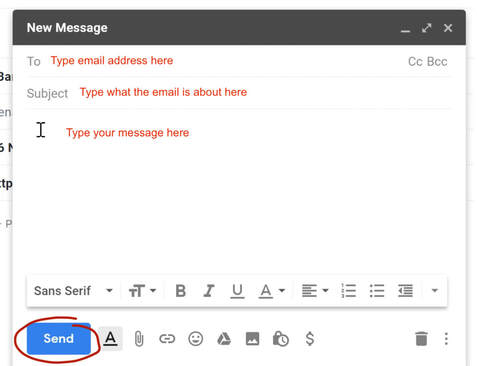
2. Type my email address in the to section. My email is [email protected] 3. Type "email practice" in the subject section 4. Type a message to me! You can tell me anything you want. - What you did today - How you study English at home - What food you like to eat 5. When you are finished click send! |

